Feather Accessories for Events: A Beginner's Guide to Hat and Corsage Plumes

A trimmed ostrich spadona tucked into the band of a sinamay saucer can lift an entire outfit. Feather accessories also go wrong in predictable ways: a plume too long for the hat, a corsage that droops by the second hour, a colour that fights the dress in every photograph. The fix usually lies in preparation rather than purchase.
This guide covers the small end of feather display — hat plumes, corsages, buttonholes and wrist pieces — and the decisions that make them work at weddings, race days and parties.
A wedding guest's headpiece should sit quietly in the photographs. Soft, matte feathers in ivory, champagne, soft grey or sage work well, and a plume slightly smaller than you first imagined is nearly always the better choice. Bridal parties can coordinate more deliberately: the same feather type in two or three sizes gives a group a sense of unity without matching exactly.
Race days reward structure. Upright coque or a firm ostrich sweep, securely fixed, suits the formality — and matters practically, because you will be outdoors in wind. Check your racecourse's published dress code before you build the hat; some are specific about headpieces and head-coverings.
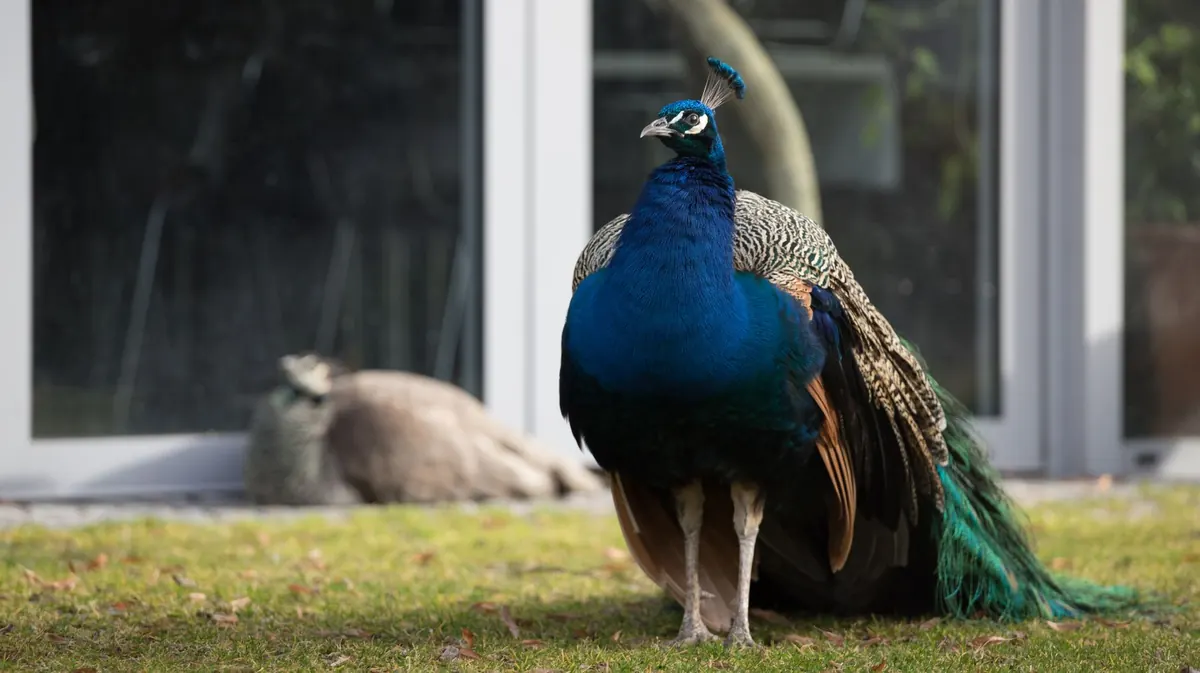
Parties allow more play. Iridescent peacock swords, dyed hackle in a bold colour or a small cluster with a metallic accent all read well in low light. Remember how feathers photograph: from a few metres away they register as texture rather than detail, so one strong shape beats a busy arrangement every time.
Scale first. As a rough guide, a plume about the height of the crown looks balanced; up to twice the crown height reads as a statement. A five-centimetre feather on a thirty-centimetre brim simply disappears.
Direction next. A sweep should follow the line of the brim, curving up and back. Upright plumes suit pillboxes, perchers and small button shapes. Then check weight: feathers are light, but a long coque on a fine headband can tip the whole thing sideways. A small felt pad under the fixing adds stability and covers the workings.
For colour, pick up a secondary tone from your outfit rather than the dominant one. Ivory, taupe, charcoal and black make reliable anchors, and a neutral plume over a bright dress is often more elegant than a precise match that misses by a shade.
Untrimmed feathers look like they arrived by accident. A few minutes with sharp scissors changes that.
Work over a bag, and keep the offcuts. Small trimmed pieces are exactly what you need for a corsage later.
Small stitches through the quill, in a matching thread, straight into the hat band or a felt pad. Two anchor points along the quill stop the plume swivelling when you turn your head.
Fine jewellery wire wrapped tightly around the quill and then threaded through the hat is strong and nearly invisible. Low-temperature hot glue works too, applied in small dots, one at a time. It can scorch fine feather fibres, so test on an offcut first.
Sew the plume onto a small felt or buckram base, then attach that to a brooch bar or an alligator clip. One plume then works on several hats, and everything packs flat. Useful fixings to keep in your kit: brooch bars, hat elastic, alligator clips, millinery wire, hatpins, and two-part magnets — sew those inside felt covers so they cannot scratch fabric or skin.
Smaller again: five to ten centimetres is plenty. Wire the stem with florist wire, wrap it in florist tape, then cover the wrap with ribbon so nothing shows. Gather the feathers tightly at the base and let them fan at the top, and add one small flower, a bud or a few berries to give the piece structure.
Weight matters more than size. A lapel buttonhole needs a pin or magnet strong enough for a head-shake; a wrist piece needs an elasticated band with a felt pad behind the cluster. For hair, use a small clip or comb rather than a pin. Give any finished piece a gentle tug before you commit.
One practical note: feathers are a natural material and can hold dust. If you have asthma or a known allergy, store them in a sealed box, shake them outdoors before wearing, and speak to a healthcare professional if you are unsure whether they are suitable for you.
Bought well, trimmed with care and fixed properly, a plume lasts for years and moves between hats without fuss. Buy one more feather than you think you need, give yourself an evening to shape it, and the rest of the outfit tends to fall into place around it.
Photo: 7522297 / Pixabay
Previous Post
The Ultimate Checklist for Buying Feather Plumes Online
Next Post
How to Clean and Maintain Acrylic and Wooden Display Stands